Connecting Claude
You can connect your Carbon Voice account to Claude in a few clicks, with no technical setup. You'll need to be logged into your Carbon Voice account in your browser to complete the connection.
From Claude's connector directory
Carbon Voice is listed in Claude's connector directory, which is the quickest way in.
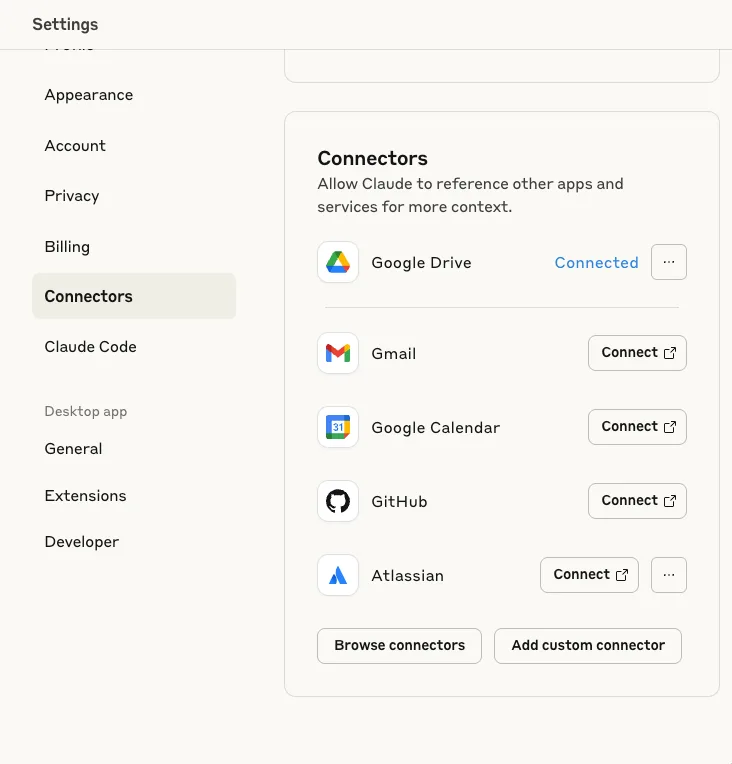
- Open Carbon Voice in the directory, or find it by browsing the connector directory from Settings → Connectors in Claude.
- Click Connect.
- Log into your Carbon Voice account when prompted. This links Claude to your messages and conversations.
Adding it manually
If your version of Claude doesn't show the directory, add the server by hand instead.
- Open Claude in your browser and go to Settings → Connectors.
- Click Add custom connector.
- In the pop-up:
- Name —
Carbon Voice - Remote MCP server URL —
https://mcp.carbonvoice.app
- Name —
- Click Add.
- Click Connect next to the Carbon Voice connector.
- Log into your Carbon Voice account when prompted. This links Claude to your messages and conversations.
Local installation
If you'd rather run the MCP server locally with API key authentication, you'll need:
- A Carbon Voice API key. Request one from devsupport@phononx.com with the subject "Request API key for MCP Server".
- npx, which comes bundled with Node.js 14.8.0 or later. Check with
npx --version, and install Node from nodejs.org if needed.
Then:
- Open your Claude Desktop configuration file:
- macOS —
~/Library/Application Support/Claude/claude_desktop_config.json - Windows —
%APPDATA%\Claude\claude_desktop_config.json
- macOS —
- Add the Carbon Voice MCP server under
mcpServers, using thenpxcommand with the@carbonvoice/cv-mcp-serverpackage and your API key in theCARBON_VOICE_API_KEYenvironment variable. - Save the file and restart Claude Desktop.
The exact configuration snippet and other connection methods are in the cv-mcp-server repository.